Cyril T.
Clean edges on plywood
Tested the new crosscut sled on some 3/4-inch birch ply this morning. Zero tear-out on the top or bottom face.
Builder-Approved (100 reviews)
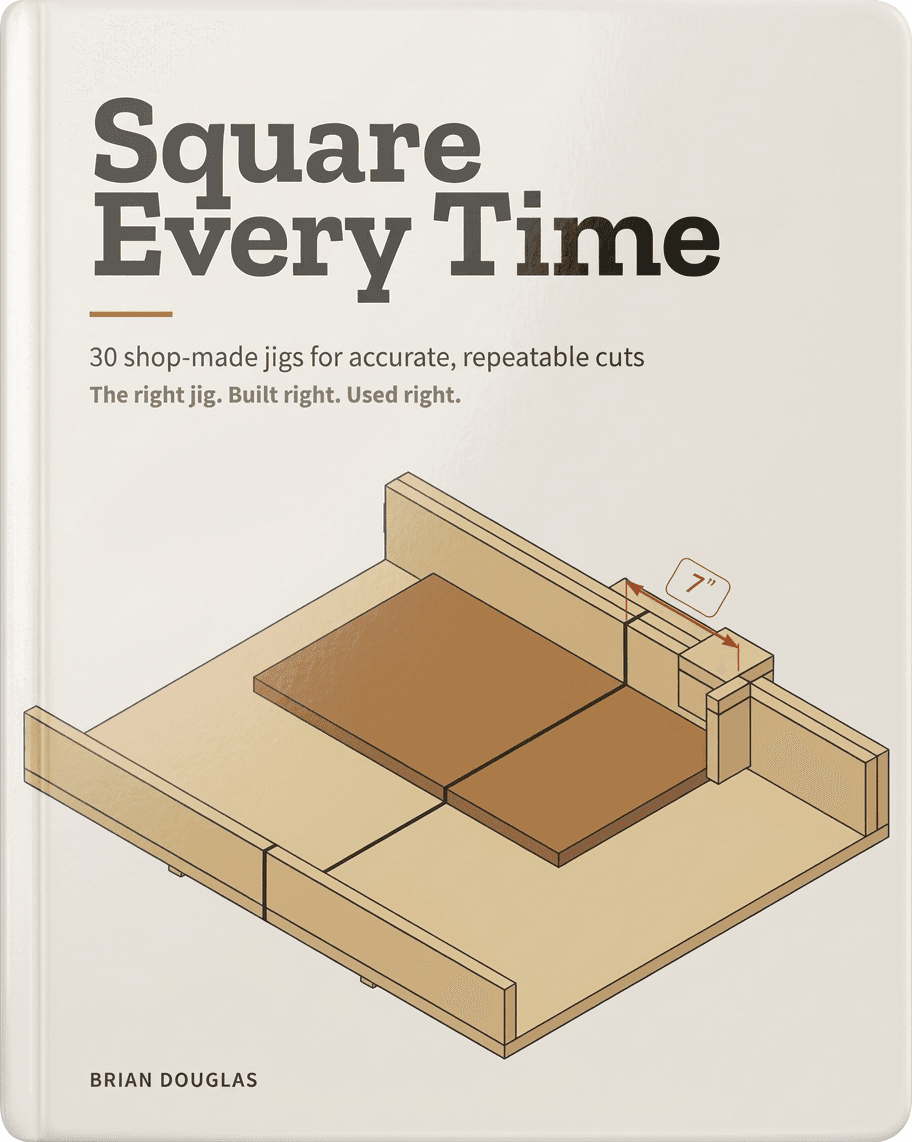
30 shop-made jigs for the table saw, router and drill, each drawn to the last part. Build them once from plywood and scrap, and get accurate, repeatable cuts for years.
I had some scrap birch plywood sitting under my bench and decided to try the sled plan first. The 5-cut tuning method explained in the book was really easy to follow. Checked my cuts with a combination square and there's zero light getting through. Dead square.
Pick a bundle and check out securely through Whop. You'll get an email with your download link.
Open the PDF on a phone, tablet or computer, or print the single-plan sheet for the jig you're building and take it to the saw.
30 jig plans in eight groups: crosscuts, rip cuts, joinery, drilling, router jigs, sanding, clamping and assembly, and measuring and setup.
Every plan has the problem it solves, difficulty, build time and tools, a cut list in inches and millimetres, dimensioned drawings, an exploded view, a 4×8 sheet layout, numbered build steps, setup and use, three common mistakes, and safety notes.
If the book isn't for you, email us within 30 days of purchase and we'll refund you in full. No forms, no questions.
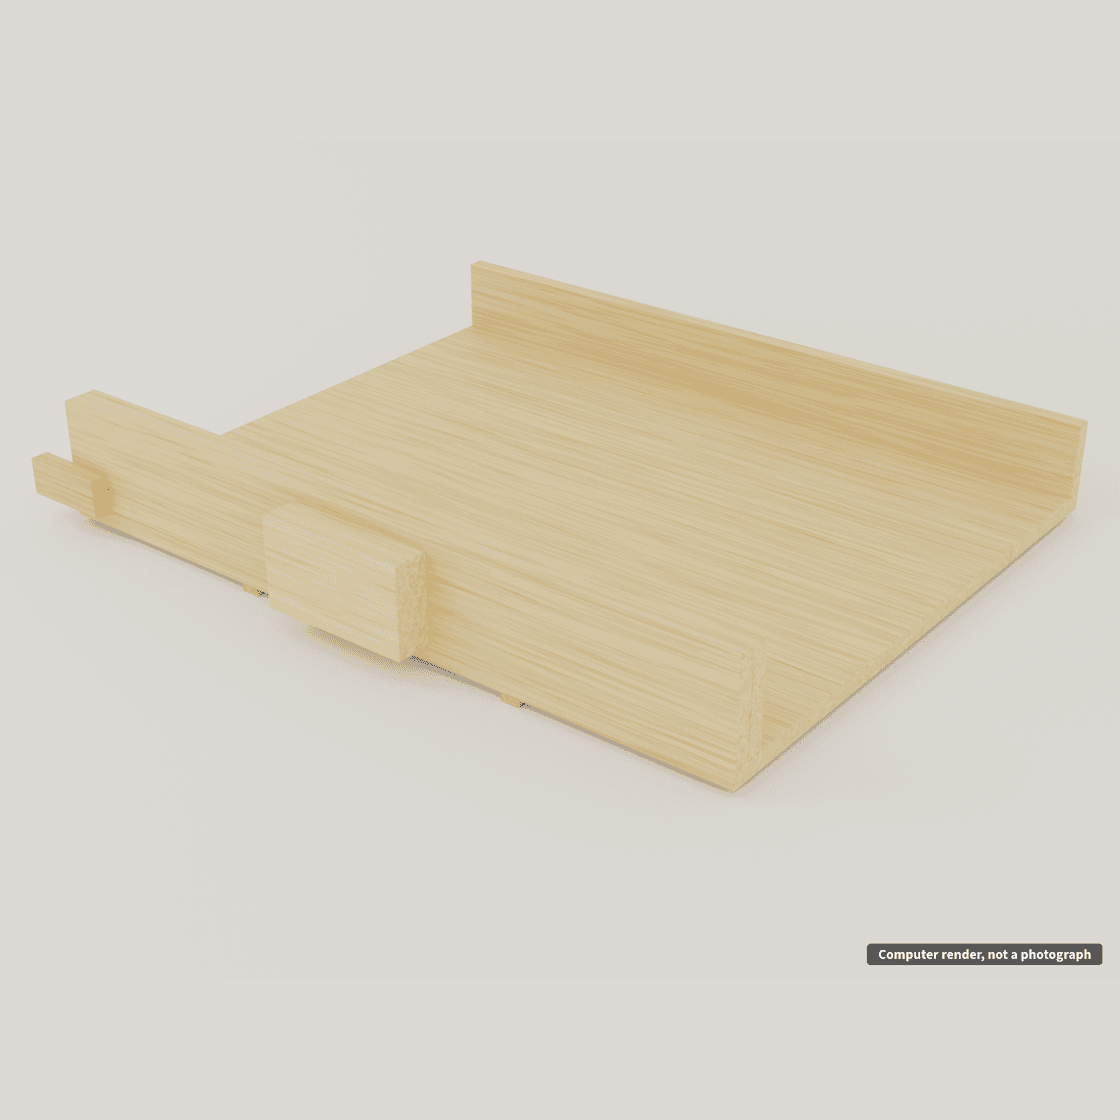
The crosscut sled, small-parts sled, flip-up stop and setup blocks are designed to work together, so the tenth cut matches the first.
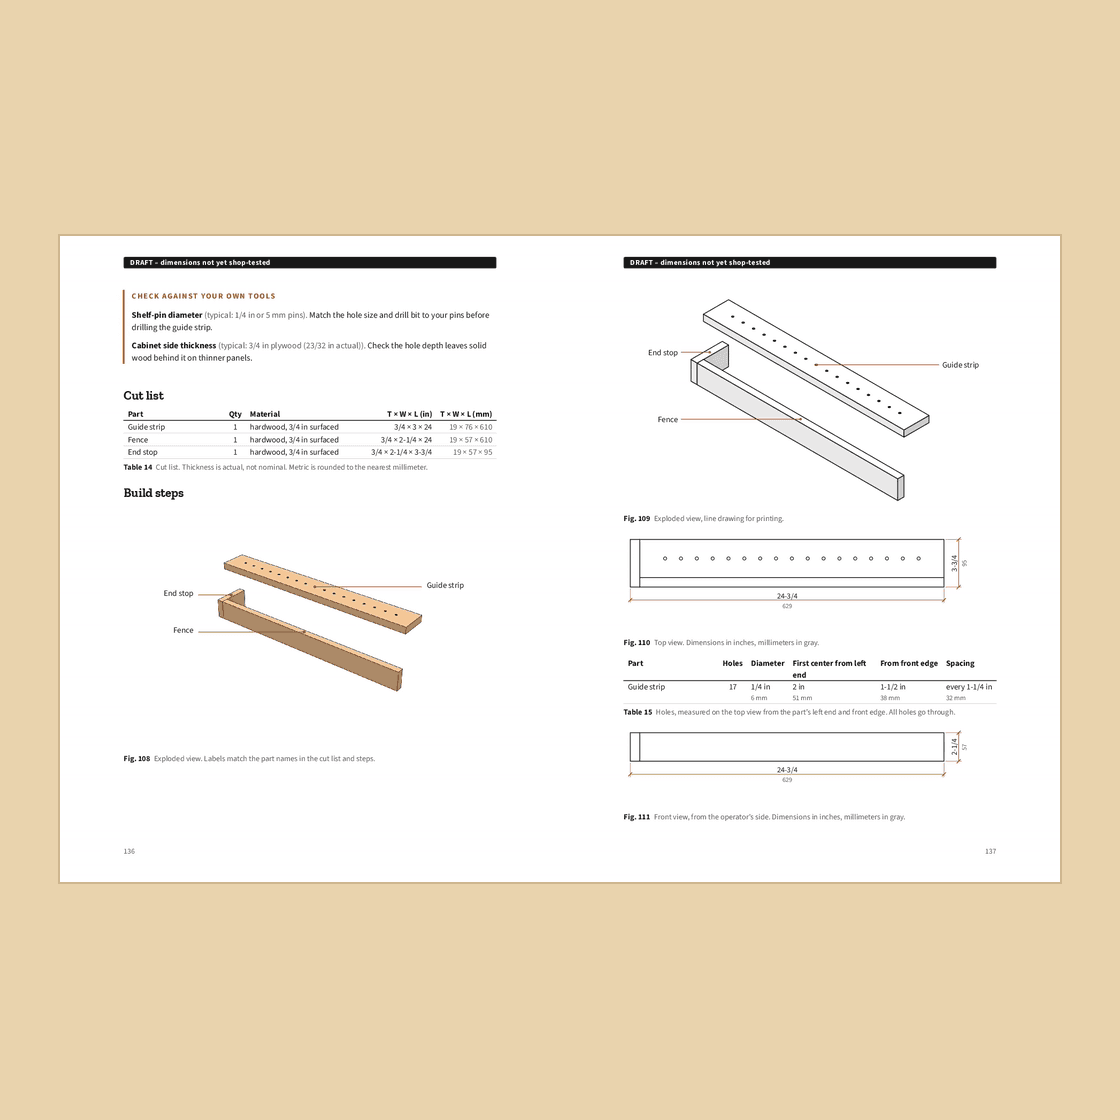
Each plan has a cut list in inches and millimetres, dimensioned top and front views and a 4×8 sheet layout. Where a size depends on your machine, like your miter slot, the plan tells you to measure it.
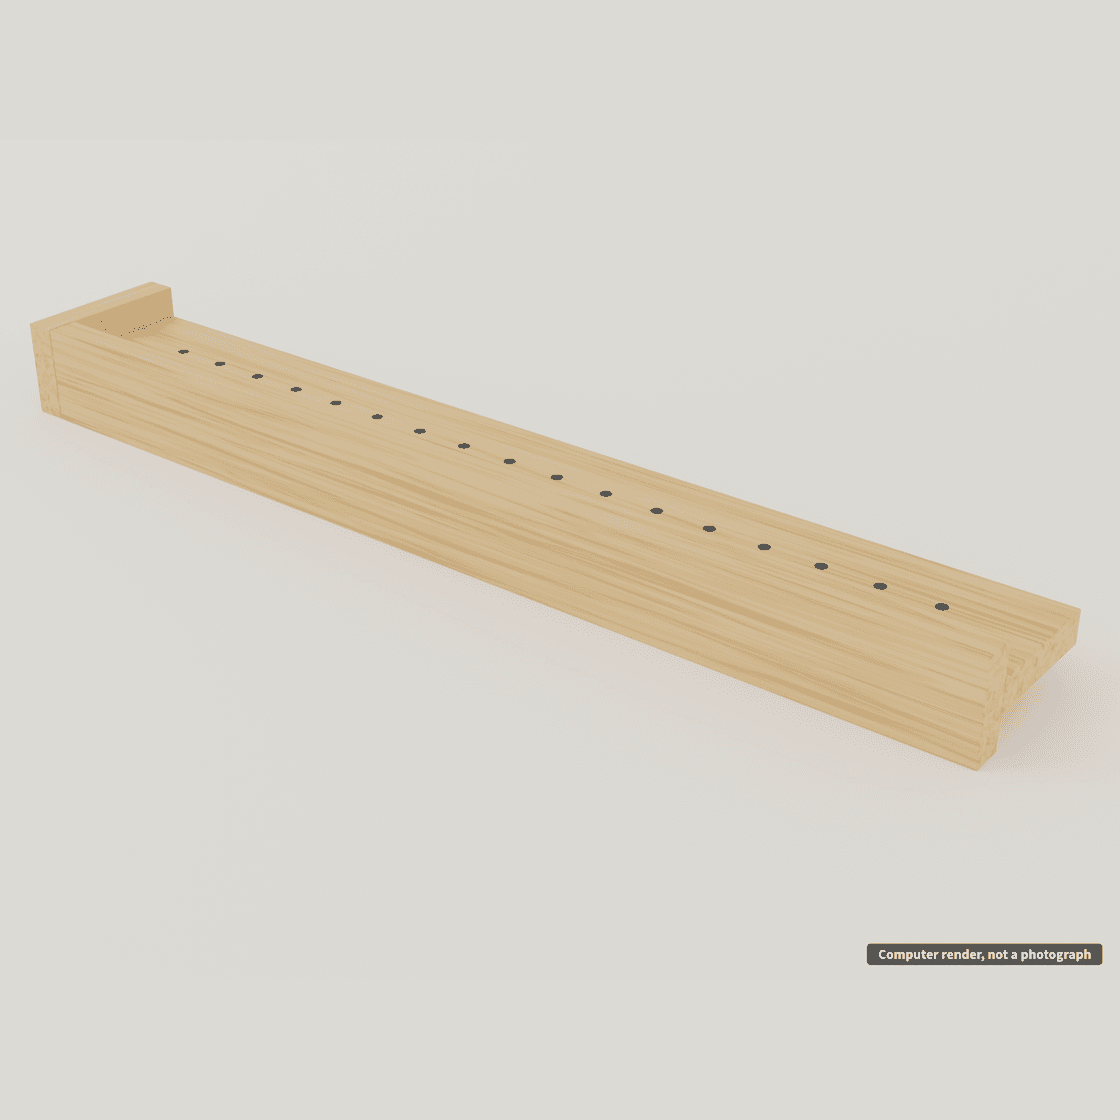
Numbered build steps name every part. Then each plan shows the jig in use, with hand positions, no-hands zones and the three mistakes people make most.
Hobby woodworkers with a table saw, a router and a drill who are tired of cuts that come out slightly off. Whether you're setting up your first shop or have been building for years and want accurate, repeatable jigs instead of measuring every cut, the plans take you from a sheet of plywood to a finished jig.
Every number comes from one measured drawing per jig, so the cut list, the drawings, the 4×8 sheet layout and the numbers in the steps always agree. Nothing is retyped. Each plan is fully dimensioned in inches and millimetres, flags any size that depends on your own saw, and shows the jig in use with hand positions and no-hands zones. The jigs are also designed to work together: the flip-up stop is sized for the crosscut sled's fence, and the setup blocks set blade height and fence distance without a tape measure.
No. It's a digital book: PDF downloads in US Letter and A4, plus a printable single-plan sheet for each jig. You can print as many copies as you like for your own shop.
Straight away. Right after checkout you get an email with your download link for the full book and every printable plan sheet.
Most plans use a table saw, a router and a drill. Each plan lists its exact tools at the top, so you can see what a jig needs before you start.
Yes. Every plan is rated difficulty 1 to 3 with a build time, and the steps are written in plain shop talk. Start with a level 1 jig like the assembly square or push-shoe set.
Both. Every dimension is given in inches with millimetres alongside, and lumber sizes are actual, not nominal.
Anything that depends on your machine, like the miter slot width or fence height, is flagged in the plan with how to measure yours.
Email us within 30 days for a full refund.
4.6
Based on 100 reviews
Cyril T.
Tested the new crosscut sled on some 3/4-inch birch ply this morning. Zero tear-out on the top or bottom face.
David N.
Good set of straightforward designs for anyone looking to build better fixtures for their shop machines.
Erick G.
The part illustrations and exploded views are drawn cleanly and are very easy to read on screen.
Frank L.
Sliced a dozen 2mm strips for custom edging on a table build. All came out uniform in thickness.
Geoffrey O.
The build steps move logically from cutting the base to mounting fences and checking squareness.
Harvey M.
30 complete plans with exact dimensions and cut lists. Everything matches up with what was listed on the site.
Igor A.
Starts with quick push blocks and small guides, then moves up to larger sleds. Nice way to build out your shop fixtures.
Mark W.
Built the sled over the weekend. Checked my cuts with a square and everything is dead-on. Makes face frame assembly much easier.
Karl H.
I like that you can just print out the single plan sheet you need and take it to the saw rather than bringing a tablet or whole book.
Leonard E.
Every part in the exploded view has a matching line on the cut list. Made it very easy to prep stock ahead of time.
Michael V.
The handles and hold-downs give you much better control over guiding boards through cuts smoothly.
Nathaniel Y.
Downloaded easily and looks sharp. Clear drawings, exact cut lists, and very practical advice for shop builds.
Oliver C.
Renders quickly and pages flip fast. Easy to refer to the drawings while sitting at the workbench.
Pascal B.
When all your cuts are square right off the saw, dry-fitting cabinet parts takes a fraction of the time.
Regis D.
Clear plans, simple layouts, and easy to build using scrap plywood. Glad I picked it up.
Vincent N.
Printed the Letter format sheets on my home printer without anything getting cut off at the margins. The font on the cut list table is slightly compact, but legible.
William K.
The section explaining how to shim the fence with small strips of paper until it's dead square was worth the read alone.
Anthony Y.
Built the 45-degree spline jig for my router table. Adding decorative corner keys to hardwood jewelry boxes is fast and clean now.
Ben J.
I used to spend hours watching videos trying to figure out jig measurements. Having 30 plans in one PDF is way easier, even if a few designs overlap slightly in function.
Charles E.
Made the heavy-sole push block out of some scrap maple in under an hour. The rubber pad on the bottom gives great grip on stock.
Damian U.
Made a series of short 5-inch drawer dividers. Every single piece came out identical in length without tweaking the setup midway through.
Eric Q.
Well-thought-out plans. It took me a couple tries to get my miter slot runners completely flush, but the instructions walked through how to fix tight spots.
Fred I.
When your cuts are actually square, gluing up face frames and small cabinets becomes so much less stressful. Everything sits flat on the bench.
Greg Z.
The cut diagrams show you how to nest all the parts on your plywood sheet. Worked well, though I had to substitute 18mm ply for 3/4 inch.
Hugo X.
Built the dedicated miter sled for cutting 45-degree angles. Frame corners close up tight now without needing extra sanding or tweaking.
Ian S.
The exploded views show you exactly how the pieces sandwich together. Made it easy to pre-drill counterbores in the right spots.
Julian F.
The plastic notch stick that came with my saw used to slip off the end of boards. Built the wooden push block from the book and it holds stock down much better.
Kevin L.
The jigs work as advertised and give great accuracy, but building 5 or 6 of them takes up a substantial amount of storage space in a small single-car garage.
Lionel D.
Building a few dedicated fixtures made my whole workflow less chaotic. I spend less time searching for setup blocks and measuring tape now.
Max P.
I have a compact jobsite saw with short table extensions. Building a sturdy plywood crosscut sled made handling wider panels much easier, though the extra weight slows down transport slightly.
Norman B.
Spent Sunday afternoon making the tenoning jig and thin-strip rip guide. Simple builds that I'm already using on my current project.
Patrick A.
Cutting small parts used to be annoying because they'd drift or chatter. The clamp setup on the short-part jig keeps everything locked down.
Quinn V.
Paid online, got the link right away, and opened the PDF on my laptop. No weird software required.
Ralph T.
The steps are broken down clearly: cutting parts, drilling, assembling, and final calibration. Took a bit of fine tuning on the miter runners.
Sam O.
You can tell these were built and tested in a real shop. The handle placements and stop block adjustments are all positioned where you'd naturally reach for them.
Tristan K.
The alignment tips in Chapter 2 helped me figure out why my cuts were pinching at the back of the blade. Adjusting the fence solved it.
Urbain R.
Comprehensive list of jigs for table saws and routers. Straightforward layout and easy to follow.
Victor H.
Brought my new crosscut sled to our monthly club meeting to show the guys. A few of them asked where I got the plans.
Wilfried L.
The parts list tells you exactly what size screws and T-bolts to buy. Wish my local big box store carried all the knob varieties, had to use standard nuts on one build.
Yann S.
Built the vertical tenoning jig for a table base. The cheeks came out smooth and flat, fitting the mortises cleanly without hand paring.
Zachary F.
Paid $47 for the download and built three jigs the first week using scraps I already owned. Well worth it for my shop.
Adrian M.
All the screw hole locations and panel dimensions matched up on the drawing during assembly. No surprise misalignments.
Basil N.
Waxed the bottom of the sled and the miter runners as suggested. Glides right across the cast iron top, though fitting runners takes patience.
Cedric D.
I had to cut 24 short drawer runners. Set the flip-stop once, clamped the stock, and made all the cuts in 10 minutes.
Dorian B.
Cutting 5/4 white oak can cause boards to bind if you don't hold them flat. The hold-down clamps on these sleds keep the wood firmly in place.
Eli C.
Building these taught me a lot about how to square fences properly and reinforce corners so plywood doesn't warp over time.
Felix G.
Made a crosscut on some delicate oak veneer. Both sides of the cut came out sharp without any frayed edges.
Gregory T.
No overly complicated gadgets or unnecessary parts. Just sturdy plywood fixtures that do what they're supposed to do.
Harvey P.
I used to waste time taking light test cuts and checking angles over and over. Now I just drop the piece in the sled and cut.
Ismael K.
The toggle clamp placement on the short-part jig keeps your stock from slipping or twisting midway through the pass.
Jerome A.
I drilled the hanging holes where indicated on the plans and hung them on my wall. Helps keep floor space open in a small shop.
Karim S.
The line art is simple and clean. You can easily tell which piece goes where without reading paragraphs of text.
Lewis E.
Brought some much-needed precision to my small two-car garage workshop setup. Very happy with how the builds turned out.
Michael H.
Used to have to sand down frame miters to get them to close up nicely. With the miter sled, they come off the saw fitting flush.
Noel J.
Got the PDF file right after checking out. All 30 plans are included with cut lists and dimensions as promised.
Oscar L.
Followed the setup note on using a stop block rather than the rip fence for short crosscuts. Cherry parts came through clean.
Peter R.
Building shop fixtures is a fun weekend project in itself. The plans make the process smooth and quick.
Quentin M.
Built the auxiliary router fence with the dust port built in behind the bit. Keeps chip buildup down when routing dados.
Romain V.
Saved it on my desktop and tablet. I refer back to the cut lists whenever I start a new shop fixture build.
Samuel C.
The hold-down pads keep long boards flat against the table so you get a uniform depth of cut across the whole board.
Thibault Z.
Setting up cuts for repetitive cabinet parts goes much faster when you have dedicated stop blocks ready to slide into place.
Ulrich F.
Solid plans for building basic workshop jigs. The calibration steps for checking 90 degrees were very thorough.
Valentin B.
I've heard people talk about the 5-cut method before, but the step-by-step breakdown here finally made the math easy to follow.
William P.
The hold-down blocks keep stock from riding up during cuts, which keeps dado depths completely even.
Ivan D.
Practical book filled with straightforward plans. Built two sleds and a push block so far and use them regularly.
Alexander S.
Tells you every piece of hardware and sheet size you need before you start cutting. Very easy to follow.
Bartholomew K.
Making multiple cuts to the same dimension is effortless once you have the stops set up on the sled rail.
John T.
When your cuts are actually square, putting drawers together during a dry fit takes two seconds. Just make sure your scrap plywood is flat before building the sled base.
Lucas V.
Didn't need to order any specialty tracks or fancy hardware kits. Wood glue, a few drywall screws, and standard T-nuts were all it took.
Matthew O.
The book points out why single-runner sleds tend to twist if the fence isn't braced properly. Rebuilt mine following their structure and the drift is gone.
Paul D.
Built the primary crosscut sled following the cut list step by step. Took about three hours from cutting the base to mounting the rear fence.
Richard G.
Used the drill press hold-down fixture to clean out mortises for a bench build. Held the 2x4 stock firmly vertically without racking.
Steve W.
I make small wooden boxes for craft fairs. Building these jigs made batching out 20 boxes at once much smoother since all the cuts match up.
Eric P.
Bought it on my phone, downloaded it immediately, and printed out the first plan sheet. Had my new heavy push block built by dinner.
Fabian R.
The stop block flip mechanism stays accurate when you drop it back down into position. Makes cutting matching right and left cabinet parts simple.
Giles M.
Clear diagrams overall. Took me a little extra sanding to get my hardwood runners sliding freely in the slots, but the sled itself turned out sturdy.
Herbert S.
I keep my iPad on the shop counter while working. The graphics don't blur or pixelate when you zoom in on small hardware details.
Bruno C.
Crosscutting cabinet sides used to leave jagged top edges on my saw. The backing on this sled supports the wood fibers completely—cut faces look factory clean.
Chris L.
No fluff or long rambling intros. Just straight cut lists, drawings, and step-by-step instructions. Exactly what I want when I'm standing in the shop ready to build.
Dan F.
Plywood is never true 3/4 inch anymore, so standard router bits leave loose dados. The adjustable dado jig in the book lets you use the actual shelf panel to set the slot width.
Yves E.
The fence locking system on the sled design doesn't flex when you push heavy boards against it. Kept its 90-degree angle even through a long afternoon of cutting thick oak.
Alan B.
I had a stack of plywood offcuts taking up space under my bench. I was able to build the push block, thin rip guide, and stop block setups without buying a single new board.
Terry K.
Reading through the introduction completely changed how I think about setting up cuts. Once the jig holds and guides the wood, you get cleaner cuts and less chatter.
Xavier D.
The jigs themselves are great, but I didn't have all the specific T-bolts and hold-down clamps in my scrap bin, so I had to order a small hardware pack online before finishing the build.
Stephen A.
Downloaded the file right to my iPad. I scroll through the plans in the garage and zoom in on the diagrams when I need to check a detail. Works great.
Robert H.
Getting miter slot runners right can be tricky, but the section on fitting hardwood strips using a hand plane made it really clear. My sled glides smoothly with no side-to-side slop.
Philip S.
I live in Canada and work mostly in millimeters, so having both inches and mm right on the cut list saved me from doing manual conversions on my phone at the workbench.
Oliver R.
Used the box joint setup on my router table for some small storage crates. Once calibrated it cuts tight interlocking fingers, but adjusting the indexing pin took me a few test cuts.
Nicholas F.
The zero-clearance base on the crosscut sled completely stopped the tear-out I usually get on veneer plywood. The edges came out super crisp.
Mark N.
I was looking at buying a commercial crosscut sled for over $150. Made the one in this book out of shop offcuts instead and it fits my specific miter slots perfectly.
Larry T.
I originally bought it just for table saw sleds. The router table dado jig and drill press fence are nice additions, though I wish there were a couple more router-specific builds.
Jack M.
Had a leftover piece of MDF and some spare knobs. Built the drill press fence with the dust port and used it right away to drill shelf pin holes on a cabinet project. Fits great.
Henry C.
Using the stop block setup on the sled means I set the measurement once and just make my cuts. Batching out 16 drawer parts took a fraction of the time it normally does.
George B.
Tapering table legs used to take me forever to measure and mark. Built the tapering jig from Chapter 4 on Sunday and knocked out four identical tapered oak legs in no time.
Frank G.
I printed out the single-page summary for the push block and taped it right on the wall above my saw while I worked. Really clean format and easy to read.
Edward V.
The section listing the 3 common mistakes for each plan kept me from messing up my runner alignment. The PDF is great on an iPad, but I still prefer a physical spiral-bound book on the bench.
Dennis L.
I built a batch of picture frames for my grandkids using the miter sled plan. The micro-adjustable stop block made it super easy to cut all matching sides to exact length. Joints closed up with zero gaps.
Claude P.
Every single piece here has exact measurements in both inches and mm. The exploded views made putting everything together really straightforward, though getting my hardwood runners to slide without play took extra hand-planing.
Bernard D.
Usually when I try to make jigs I end up wasting half a sheet of plywood trying to figure out the layout. Having the 4x8 sheet layouts in the PDF meant I got four full jigs out of one single sheet without guessing.
Arthur M.
I had some scrap birch plywood sitting under my bench and decided to try the sled plan first. The 5-cut tuning method explained in the book was really easy to follow. Checked my cuts with a combination square and there's zero light getting through. Dead square.